Ever wondered if you could pass data from your child component to its Parent component in Vue? Or you didn't understand how it worked? If yes, then this article is meant for you.
Goals:
We'll be building a mini Vue app that demonstrates how to pass data from child to parent component using the emit event.
Prerequisite:
- Basic knowledge about Vue
- Vue CLI installed on your computer.
You can install Vue CLI with the following command using Yarn:
yarn global add @vue/cli
Getting Started:
We will be using the Vue CLI tool to bootstrap a new Vue project.
First, we create a new project using the create command:
vue create emit-app
Move your down arrow key to default Vue 2 option and press enter.
Vue CLI v4.5.6
? Please pick a preset: (Use arrow keys)
> Default ([Vue 2] babel, eslint)
  Default (Vue 3 Preview) ([Vue 3] babel, eslint)
  Manually select features
Next, change directory into the project folder with this command:
cd emit-app
Start your project with the command:
yarn serve
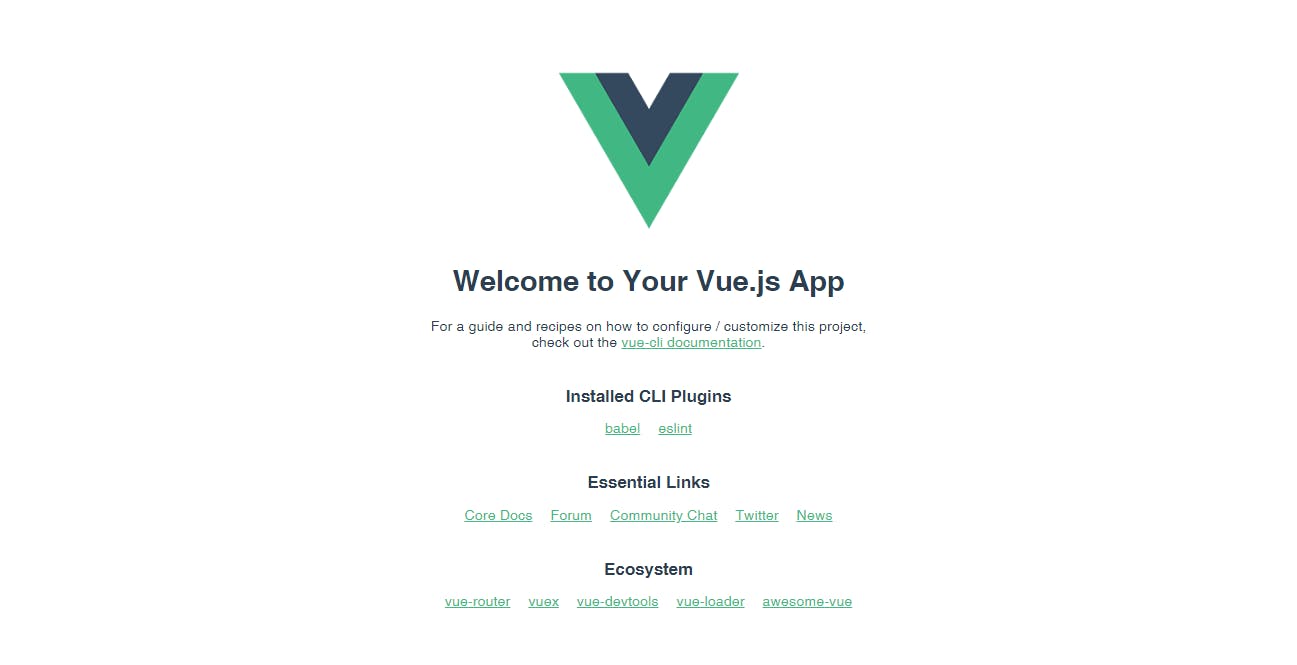
You should see your app running on localhost:8080 after running the yarn serve command.

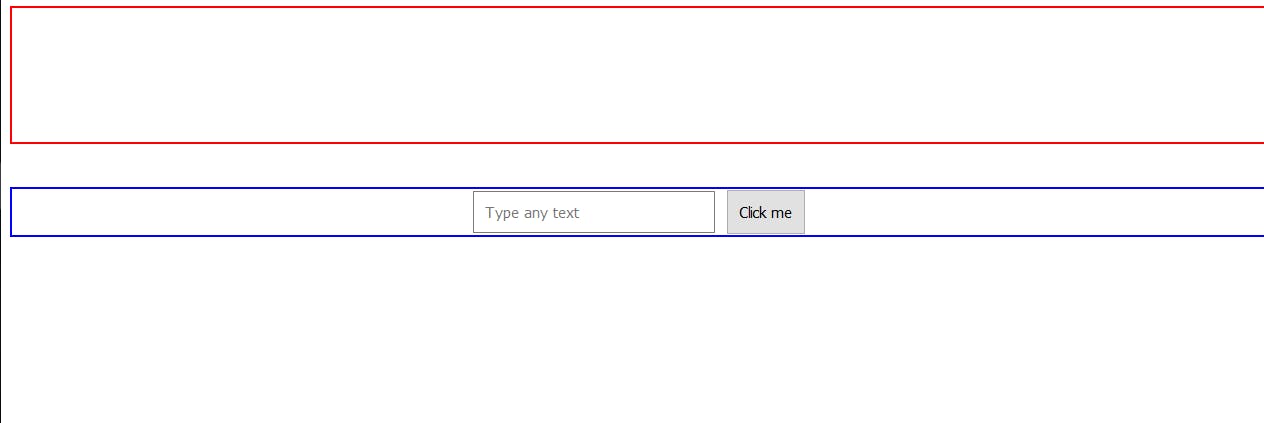
In our App, we are going to have two components, which are the App.vue and we'll create a Child.vue component. The child component will have a text field which will take in user input and display that information in the App component

The app we'll be building is as simple as it looks. The part with the red border around it is the App component, while the section with the blue border is the Child component.
Your App.vue component should look like this. I've added some global styles, nothing complex.
<!--App.vue-->

<template>
  <div id="app">
<!--This embeds our input data into h1 tags-->
    <h1 id="parent">{{output}}</h1>
<!--We insert our child component here-->
    <Child />
  </div>
</template>

<script>
import Child from "./components/Child.vue";

export default {
  name: "App",
  components: {
    Child,
  },
  data() {
    return {
      output: "",
    };
  },
};
</script>

<style>
#parent {
  padding-bottom: 80px;
   border: 2px solid red;
}

#child, #parent {
  display: flex;
  align-items: center;
  justify-content: center;
}
#child {
  margin-top: 40px;
}
#child button {
  padding: 10px;
  margin-left: 10px;
}
#child input {
  width: 200px;
  padding: 10px;
}
</style>
Then in your Child.vue component, you should have the following code:
                  <!--Child.vue-->

<template>
  <div id="child">
    <input
      class="ip-input"
      type="text"
      placeholder="Type any text"
      v-model="Input"
      @keyup.enter="sendData"
    />
    <button type="submit" @click.prevent="sendData">Click me</button>
  </div>
</template>

<script>
export default {
  name: "Child",
  data() {
    return {
      Input: "",
    };
  },
};
</script>
In the Child.vue component, you'll notice a method sendData attached to the keyup.enter and @click.prevent event handlers.
keyup.entercalls the sendData method when the enter key is pressed. whileclick.preventstops the default behavior of forms.
This is to trigger the function which contains the emit event to run when we hit the enter key or click on the button.
Then we create a method in the Child.vue component with the name sendData 👇👇
         <!--Child.vue-->
 methods: {
    sendData() {
      this.$emit("inputData", this.input);
    },
  },
this.$emit propagates a custom event and by default propagates an event, it can also propagate data but in this scenario we are sending both which is why it takes two values.
The two values being: The name of the event you want to emit. In our case "inputData" and it's data; "this.input". In more complex cases we might need to send more than one data value which the emit method allows us room to do.
Now, we've written code to emit the value we get from the input box, but this isn't enough. We need a way to get the value and event being emitted. Since the aim is to pass the value to the parent component, we'll go back to the App.vue component and add the following code where we called our child component: 👇👇
          <!--App.vue-->

<Child @inputData="inputDisplay" />
In the parent, we are listening for the inputData custom event and performing an action with inputDisplay everytime an event is propagated.
Next, we'll create the inputDisplay method in our App.vue component like this👇👇
        <!--App.vue-->

 methods: {
    inputDisplay(payload) {

    },
  },
payload is the data passed from the custom event. If you console.log(payload) you'll get the value from the input passed in the Child component. This means your emitted event and value has been successfully caught by the parent component. Here we can then do whatever we want with that value but in our case, we want to display it on the web page.
To do this we'll assign the value gotten from the payload argument to the output data property as so👇👇
 methods: {
    inputDisplay(payload) {
      this.output = payload;
    },
  },
At the end your App.vue component should look like this:
                 <!--App.vue-->
<template>
  <div id="app">
    <h1 id="parent">{{output}}</h1>
    <Child @inputData="inputDisplay" />
  </div>
</template>

<script>
import Child from "./components/Child.vue";

export default {
  name: "App",
  components: {
    Child,
  },
  data() {
    return {
      output: "",
    };
  },
  methods: {
    inputDisplay(payload) {
      this.output = payload;
    },
  },
};
</script>

<style>
#parent {
  padding-bottom: 80px;
   border: 2px solid red;
}

#child, #parent {
  display: flex;
  align-items: center;
  justify-content: center;
}
#child {
  margin-top: 40px;
}
#child button {
  padding: 10px;
  margin-left: 10px;
}
#child input {
  width: 200px;
  padding: 10px;
}
</style>
And your Child.vue component should look like this👇👇
             <!--Child.vue-->

<template>
  <div id="child">
    <input
      class="ip-input"
      type="text"
      placeholder="Type any text"
      v-model="Input"
      @keyup.enter="sendData"
    />
    <button type="submit" @click.prevent="sendData">Click me</button>
  </div>
</template>

<script>
export default {
  name: "Child",
  data() {
    return {
      Input: "",
    };
  },
  methods: {
    sendData() {
      this.$emit("inputData", this.input);
    },
  },
};
</script>
Conclusion
Hurray, we now we know how to pass data from Child to Parent component using the this.$emit event. What's next? There are other methods to achieve this such as Vuex and the event bus. You can read about them here:
Also, If you have any questions, please feel free to ask them below.
